Simplify building layouts
Create SuperSource macros or vMix virtual sets in seconds.
Start by making sure your ATEM switcher is on your local network via the ethernet connection.
Note: We cannot connect to an ATEM over USB.
Launch the ATEM Setup application to check the IP address of your switcher.
In H2R Layouts (the app), go to the Connections section and enter the IP address of your ATEM switcher.
Once entered, click the Connect button.

This will connect to your switcher if the app can find it on the local network. You’ll see the name of your switcher appear when it successfully connects.
There are some settings that can be adjusted depending on your needs:
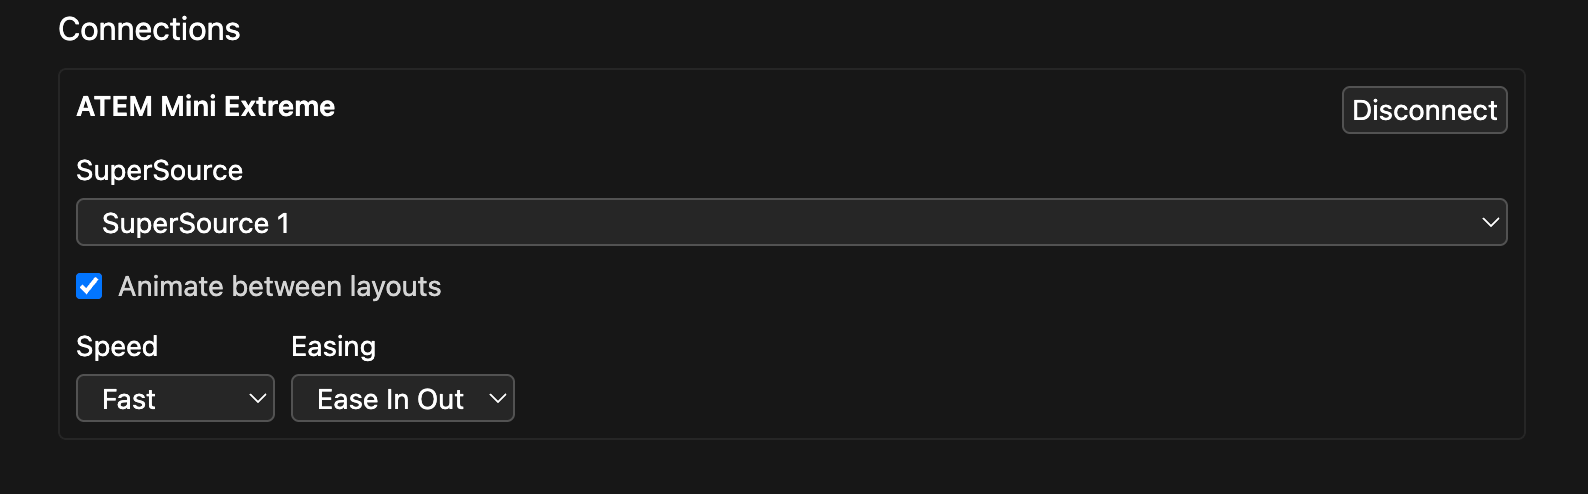
Use the layouts that you have imported to jump (or animate) your SuperSource. It’s as easy as that!
Clicking on a layout in the layouts section will animate to that on your connected ATEM.
Note: If you are clicking on an layout and it’s not working, this likely means you have lost the connection between the app and your ATEM - Try reconnecting.
Learn more about adding layouts here.
Simplify building layouts
Create SuperSource macros or vMix virtual sets in seconds.